
A beginners guide to making
Kombucha
How To Make Kombucha
Kombucha is simply a sweet tea fermented by a specific community of bacteria and yeasts.
This community is called a SCOBY (Symbiotic Culture of Bacteria and Yeasts). It looks like something you wouldn’t go near, but it is a magical, living thing that will provide you with endless kombucha if you look after it.
Essentially you add the SCOBY to sweet tea and allow it to ferment at room temperature.
During fermentation, the scoby converts the sugar in the tea into alcohol, which then breaks down into vitamins and enzymes.
Note that there is often a very small amount of alcohol that remains in the final product, but not enough to make this an alcoholic drink?
What happens during the Kombucha ferment?
Four key things happen when you add your scoby to a sweet tea:
- Sugar from the sweet tea feeds the yeast in the scoby.
- Yeast from the scoby breaks down the sugar into alcohol and carbon dioxide.
- Bacteria from the scoby breaks this down into acids, enzymes and vitamins.
- Black tea provides the scoby with nutrients that help to facilitate fermentation.
How To Make Kombucha
Brewing kombucha is a 2-step process:- The primary ferment is where the kombucha is made. At the end of this stage the kombucha it is flat and flavourless (but perfectly drinkable).
- The secondary ferment is where flavour is added and carbonation takes place.
Equipment & Ingredients For Kombucha
- 3 litre (or more) wide mouth brewing jar (any glass or ceramic jar will do as long as it is not metal). I recommend using a wide mouth jar to make it easy to add the scoby and also to maximise the surface area ratio (which is key as fermentation takes place on the surface where oxygen is available).
- Muslin cloth (or a tightish weave material that will allow the kombucha to breathe, such as a coffee filter) to keep out debris and twine or a band to secure it. It's worth investing in a good one as the debris does get caught in cheap ones and it quickly takes forever to filter through!
- 2 litres filtered water (tap water is chlorinated which inhibits microbes; during fermentation you want to encourage microbial growth, not inhibit it). If you don’t have a water filter, then boiling and cooling tap water will help to remove the chlorine.
- 200g organic sugar - I use light granulated sugar
- 1 tbsp organic loose leaf black tea - I use English Breakfast
- Organic kombucha scoby with starter tea
- Reusable tea bag or tea infuser
- Temperature strip
- Ph strip
- Brewing bottle with sealable lid (it is very important to use a reinforced brewing bottle during the second ferment, as the kombucha will carbonate and gasses will build up. A glass bottle that is not reinforced or made for brewing may explode)
Step 1 – Fermenting Kombucha
- Clean the brewing jar in hot water and rinse. I use a 3 litre Kilner dispensing jar, but you can use any glass jar – 3 litres plus.
- In a small pot, bring 0.5 litres water (ideally filtered tap water) to the boil, then remove from the heat.
- Add 200g sugar and place the 1 tbsp tea in the tea bag or infuser, steep for 5-10 minutes and then remove.
- Once cooled, pour this into the brewing jar and top with the remaining 1.5 litres of room temperature water.
- Leave about 6 - 7 cm space from the top of the brewing jar to make room for the scoby and a little extra breathing space.
- When the liquid is below body temperature (important), gently empty the contents of the sachet containing the scoby and starter tea. IMPORTANT - Make sure the water is below body temperature before you pour in the scabby and starter tea. If you pour these into the liquid while it is hot, it will kill the scoby and the fermentation won’t take place.
- The starter tea will acidify the sweetened tea as well as add kombucha organisms. Acidification is important as it provides an environment that favours the kombucha organisms and makes the conditions unfavourable to potential contaminants.
- To check that the liquid is now slightly acidic, use a wooden, plastic or silicone (not metal) spoon to scoop out some of the liquid and test the pH. If the pH is less than 4.5, continue to the next step. If it is above pH 4.5, then add a little vinegar (not raw vinegar) until it drops.
- Secure the muslin cloth over the opening of the jar with a band or twine to keep out any debris and allow the ferment to breathe.
- Leave the jar to ferment in a warm spot, out of direct sunlight for 10-30 days. Less time will be needed in summer and more time will be needed in winter as it will take longer to ferment in colder temperatures.
- After 10 days, draw some off and taste. When the ferment is ready, it will taste a little sour and won’t taste like tea anymore. If it still tastes sweet, then it will need more time to ferment so that the sugars are eaten up. So, just leave it be and taste daily until it reaches a balance of very slightly sweet, slightly tart. Don’t panic too much about how long you should leave it. You are brewing for your taste and only you can be the judge of that. There is no right or wrong time and it won’t harm you tasting earlier or later – in fact, I encourage it so that you can taste the different flavours – it is all part of the journey!
- Once you are happy with the sweet to tangy taste ratio, the first ferment is complete. You can drink the kombucha as it is now – although it will be flat and won’t have much flavour. If you prefer some fizz and flavour, then you can begin the second ferment. The possibilities here are endless!
Step 2 – Adding Extra Flavour To Kombucha
As you syphon some of the first ferment out below, remember to always leave a minimum of 2 cups of the first ferment plus your scoby in the original brewing jar. You will need to replace the amount of first ferment that you have syphoned off with more sweet tea. Just pour it in once it is below room temperature.
- Dispense some kombucha into your brewing bottle/s leaving about 3-4 cm at the top of the bottle (this is important). It is essential that you use a reinforced bottle designed specifically for brewing so that it doesn’t explode as the gasses in the kombucha build up.
- Add your chosen sweetener (you could try 1 - 2 tbsp mashed fruit or fruit juice, a slice of orange or 1 - 2 tsp honey) and then close the lid.
- Burp your bottle every day to allow some of the gases to escape. This means that you just need to take the top off briefly. You’ll hear the gas escape – it is the same sound as when you open a bottle on something fizzy. Then pop the lid back on.
- Let it ferment somewhere dark and at room temperature for 3 to 10 days.
- Then drink and enjoy!
The Beauty Of Making Your Own Kombucha
The main benefit is that you have control over the entire process. You can experiment with black tea, white tea, green tea (but not scented teas as they may damage the scoby), and then you can experiment with strong tea or weak tea.
Generally, a strong tea will make a slightly bitter kombucha. I personally prefer to use a traditional organic black tea (Cameillia sinensis) steeped for around 5 minutes and sweetened with organic cane sugar. However, there are so many variants that I am yet to try!
I completely encourage you to try brewing with different teas and different sugars. However, experiment with the scoby babies and not the scoby mother (just in case the scoby dies - some just do not get on with different sweeteners and different teas). If you look after your mother scoby, you won’t need to buy another.
The end taste is fizzy & tangy. Kombucha has a distinct crisp/tarte/slightly sour flavour to it and this flavour can be altered and adjusted by altering the brewing time and the ingredients used. A shorter brewing time makes a sparkling, crisp and fruity tea drink while a longer brew time makes a drink similar to apple cider vinegar (but loaded with goodness!).
Avoid These Kombucha Homebrew Mistakes
- Never put your scoby in the fridge. The scoby is a collection of living microorganisms - bacteria and yeasts, which are sensitive to heat and cold. If you put your scoby in the fridge or freezer it will damage it and may not properly culture.
- You don’t need to rinse your scoby – the bacteria and yeasts on the scoby need to stay on it so that it can transform your sweet tea into kombucha!
- Don’t oversteep your tea – stick to the recommended brew times in order to avoid a bitter kombucha.
- Never add anything to your first ferment apart from a scoby or sweet tea. Flavouring should only be added during the second ferment.
Homemade Kombucha Troubleshooting
Why hasn’t my kombucha hasn’t started to ferment?
Your starter may not be viable. Was the solution too hot when you introduced it? Is the area that you are fermenting too cold? Has chlorinated water inhibited fermentation?
Why does my first ferment taste really sour?
You have fermented it for too long. Ferment for shorter next time and use this one for vinegar.
Why has surface mould developed?
The environment is not acidic enough. Acidifying your kombucha with mature kombucha or vinegar will help to prevent surface moulds. Try using a pH test stip.
Other Ferment Guides
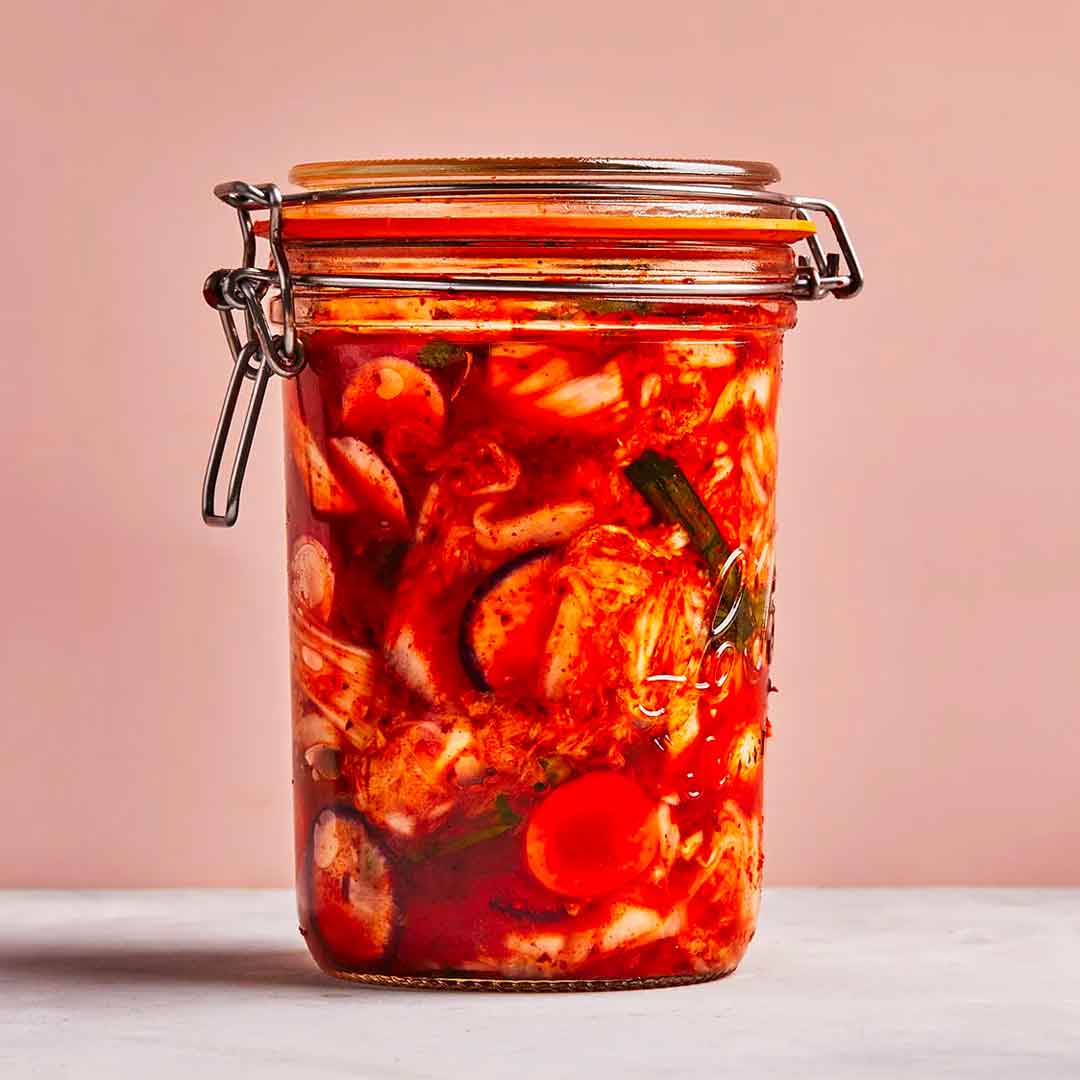
Kimchi
This Korean staple is so easy to make. And once you've made it, you'll wonder how you ever did without it (or paid so much to buy it from the shop!).
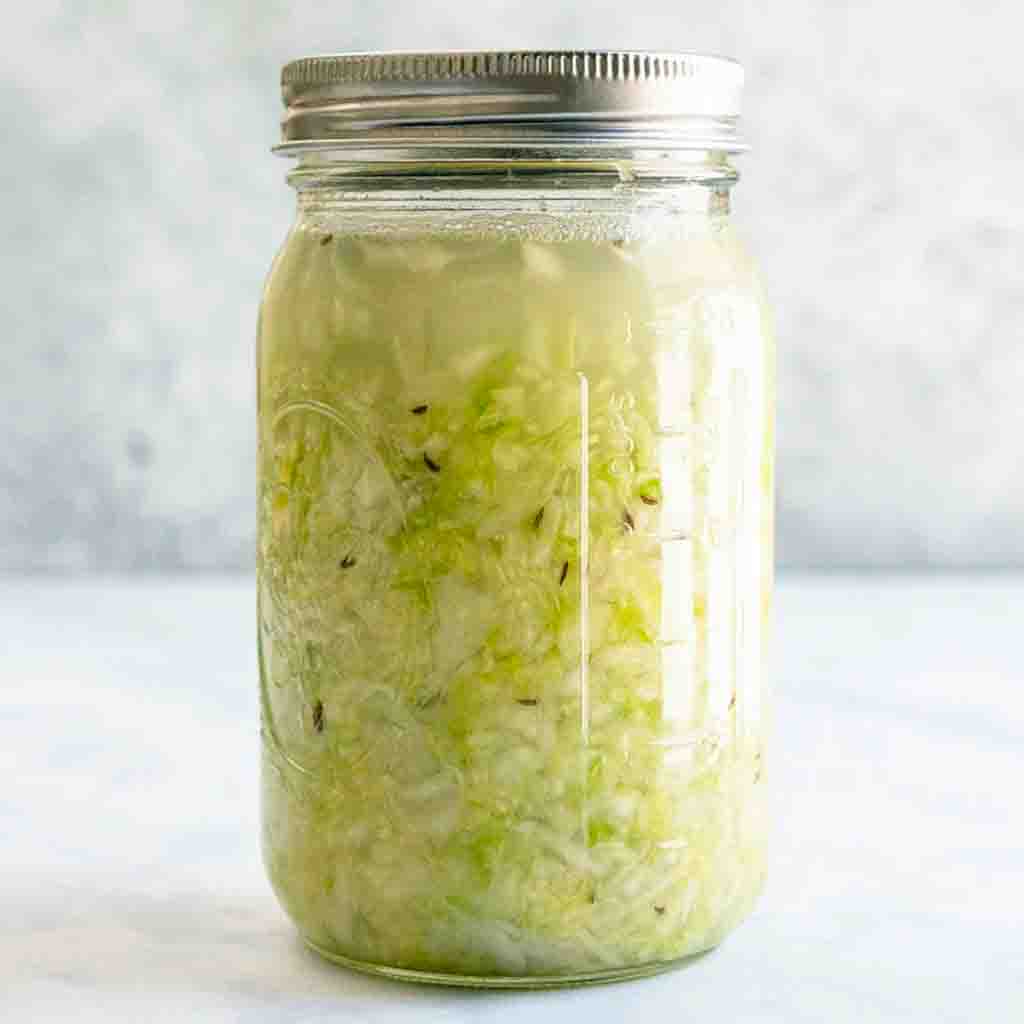
Sauerkraut
Whilst fermented cabbage submerged in liquid to deprive it of air and oxygen might not sound like a delicious treat, once you start this simple process, you'll never stop.